
BEVFormer 源码解读及本地环境配置
一、环境配置
由于 BEVFormer 对配置要求比较高,本地普通电脑难以满足要求,所以,我们租用云算力平台进行 BEVFormer 的代码复现。
BEVFormer源码:
- BEVFormer: https://github.com/fundamentalvision/BEVFormer
- BEVFormer 安装步骤:https://github.com/fundamentalvision/BEVFormer/blob/master/docs/install.md
环境配置:
- 云算力平台:https://gpu.ai-galaxy.cn/store
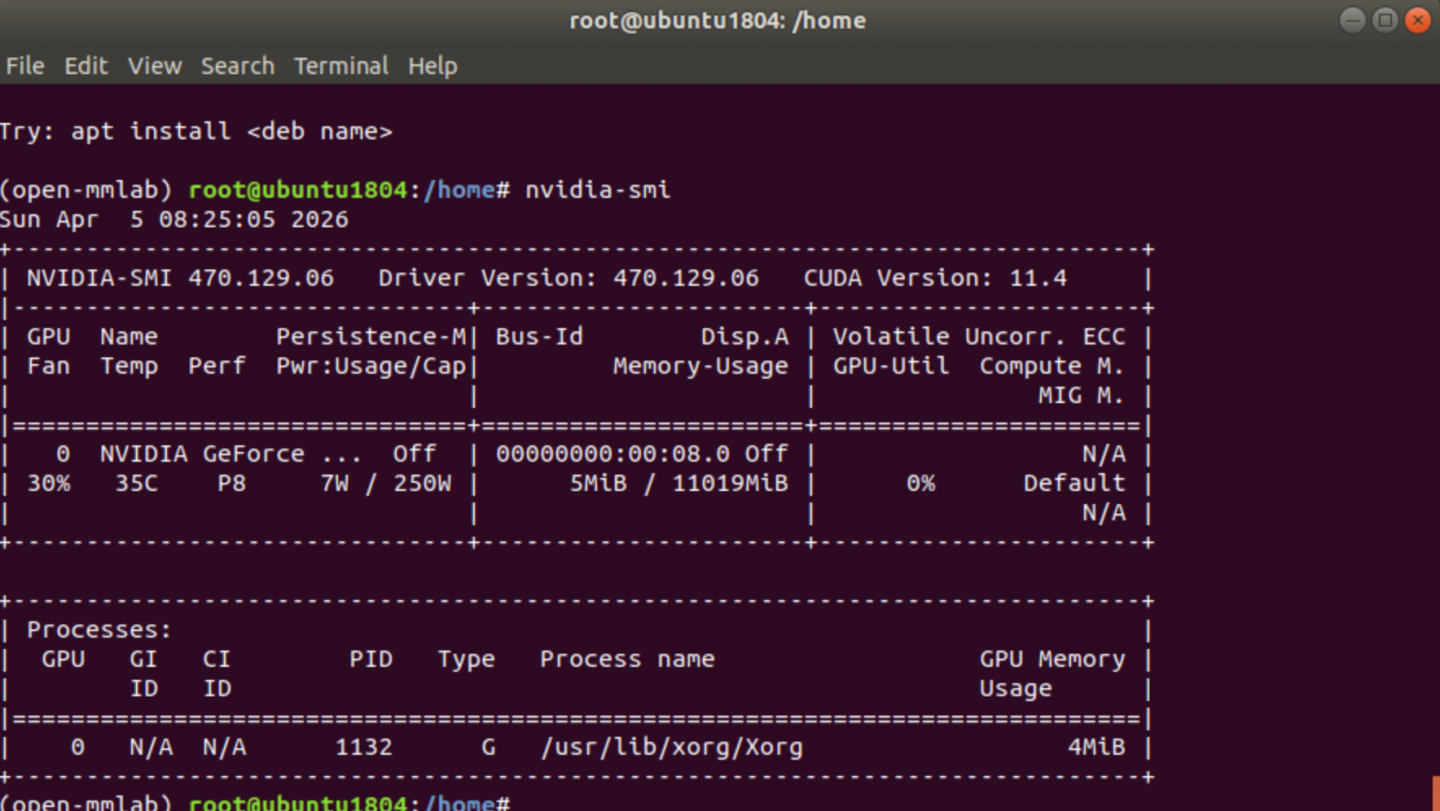
- GPU配置:GeForce RTX 2080 Ti (11G)
- Ubuntu 18.04
- cuda11


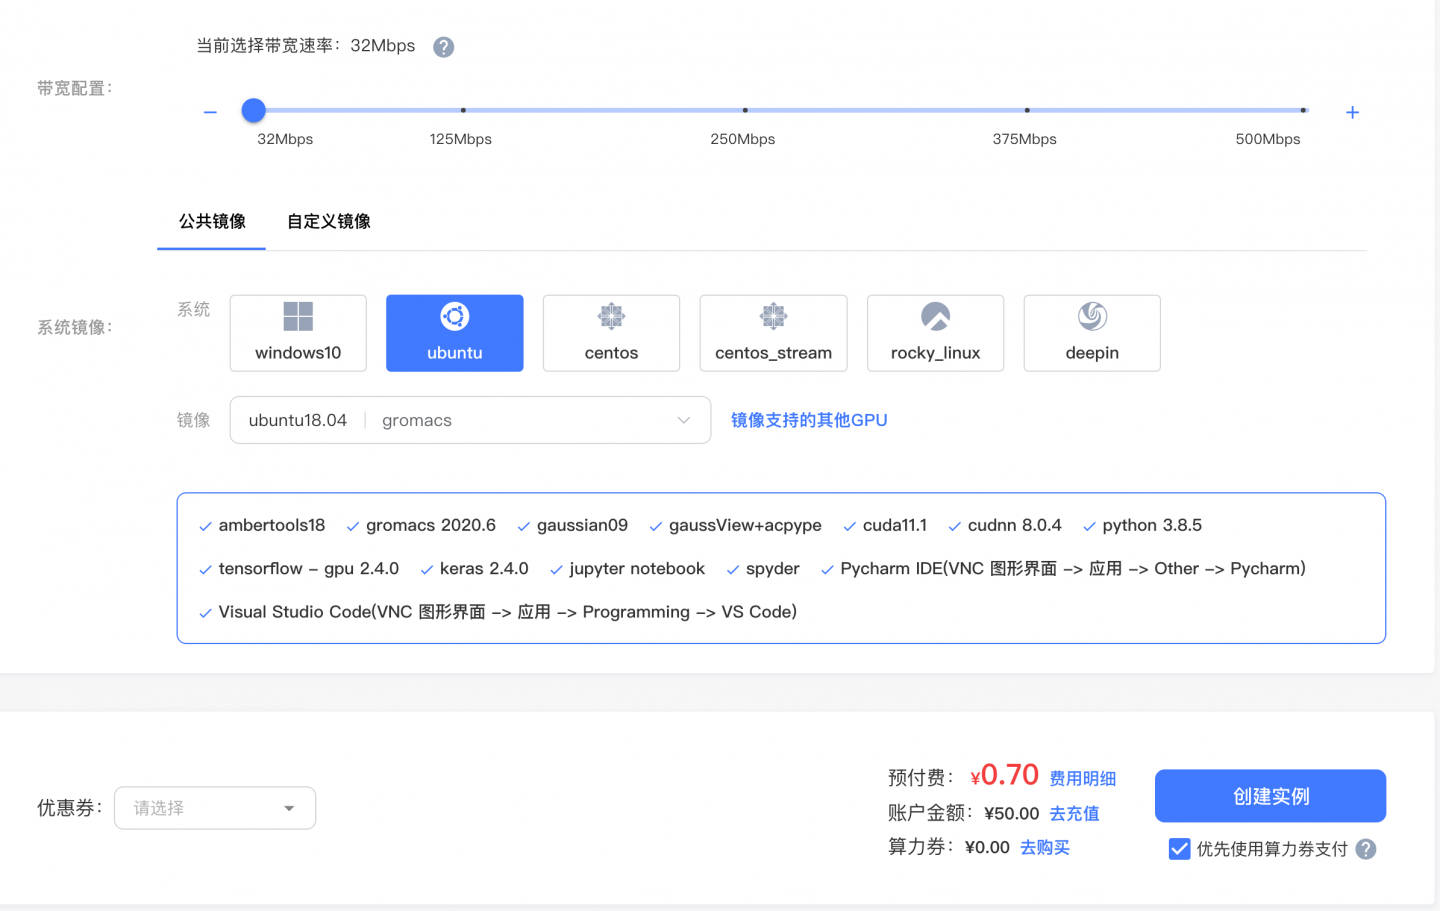
这里按 小时租或按天租, 费用还是挺便宜的。
使用 VNC 连接:
https://gpu.ai-galaxy.cn/console/dashboard
二、安装依赖
由于云环境已经自带了 cuda 等基本的依赖,所以,我们只需要安装其他依赖即可:
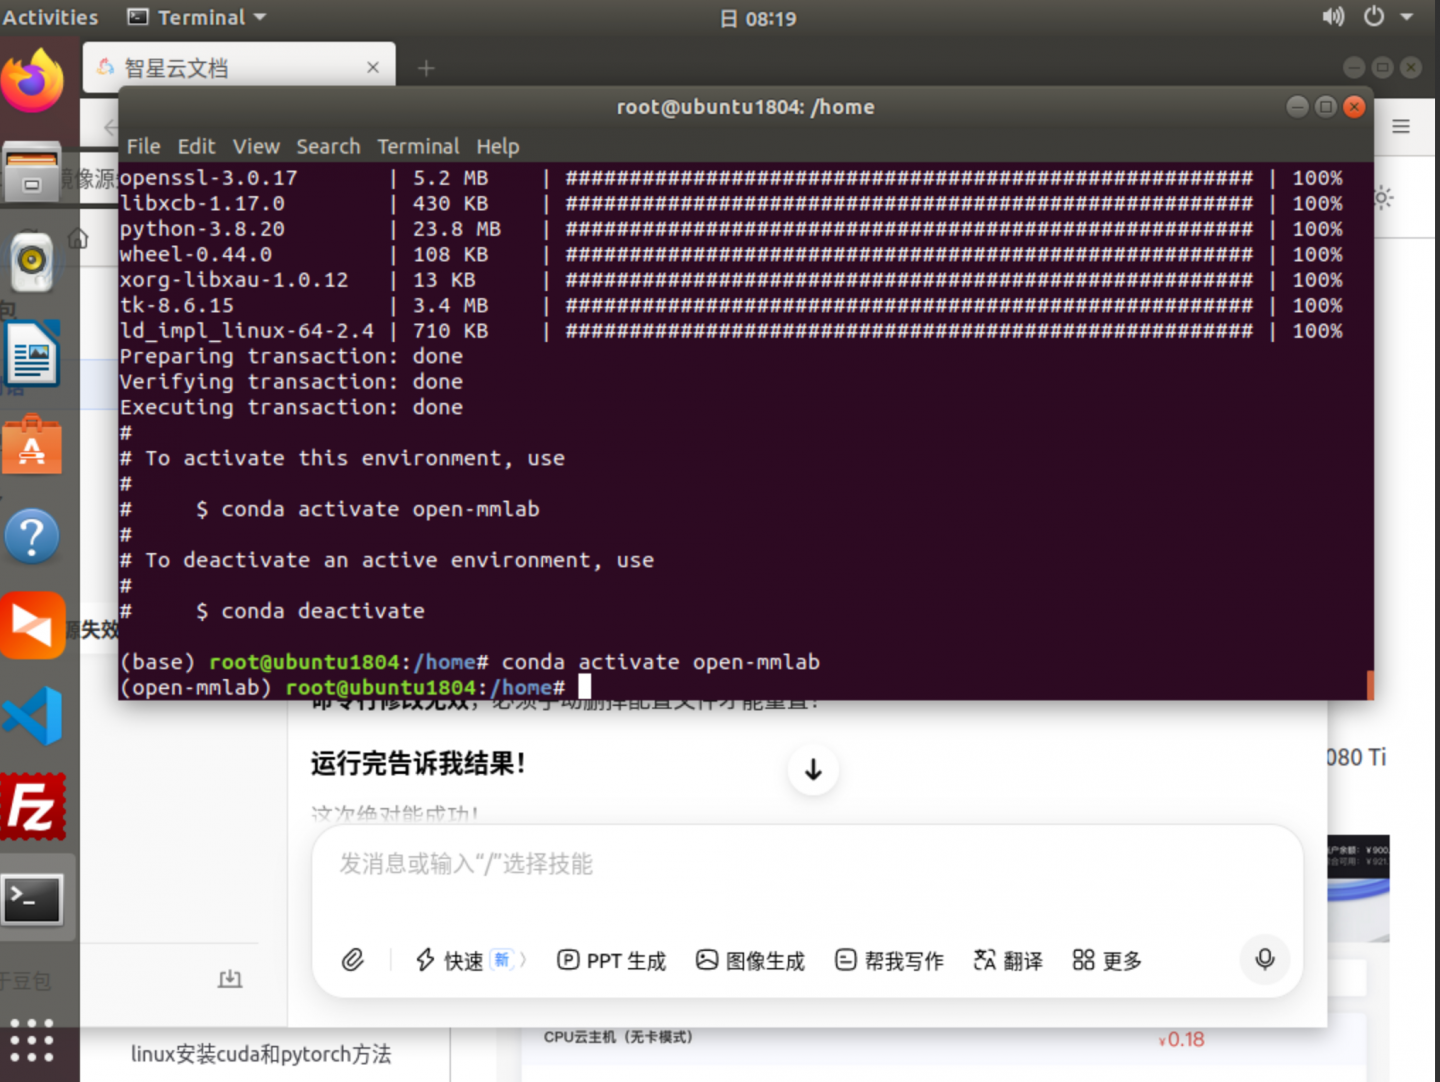
切换环境:
# 切换为root用户,否则下载会遇到问题
su root
# 1、Create a conda virtual environment and activate it.
conda create -n open-mmlab python=3.8 -y
conda activate open-mmlab
# 2、Install PyTorch and torchvision following the official instructions. (云环境已安装)
# pip install torch==1.9.1+cu111 torchvision==0.10.1+cu111 torchaudio==0.9.1 -f https://download.pytorch.org/whl/torch_stable.html
# Recommended torch>=1.9
# 3、gcc>=5
# conda install -c omgarcia gcc-6 # gcc-6.2
# 4、Install mmcv-full. (按照你的显卡去装,用下边的链接找到对应的版本)
# pip install mmcv-full==1.4.0
# pip install mmcv-full==1.4.0 -f https://download.openmmlab.com/mmcv/dist/cu111/torch1.9.0/index.html
# d. Install mmdet and mmseg.
pip install mmdet==2.14.0
pip install mmsegmentation==0.14.1
# Install mmdet3d from source code.
git clone https://github.com/open-mmlab/mmdetection3d.git
cd mmdetection3d
git checkout v0.17.1 # Other versions may not be compatible.
# python setup.py install
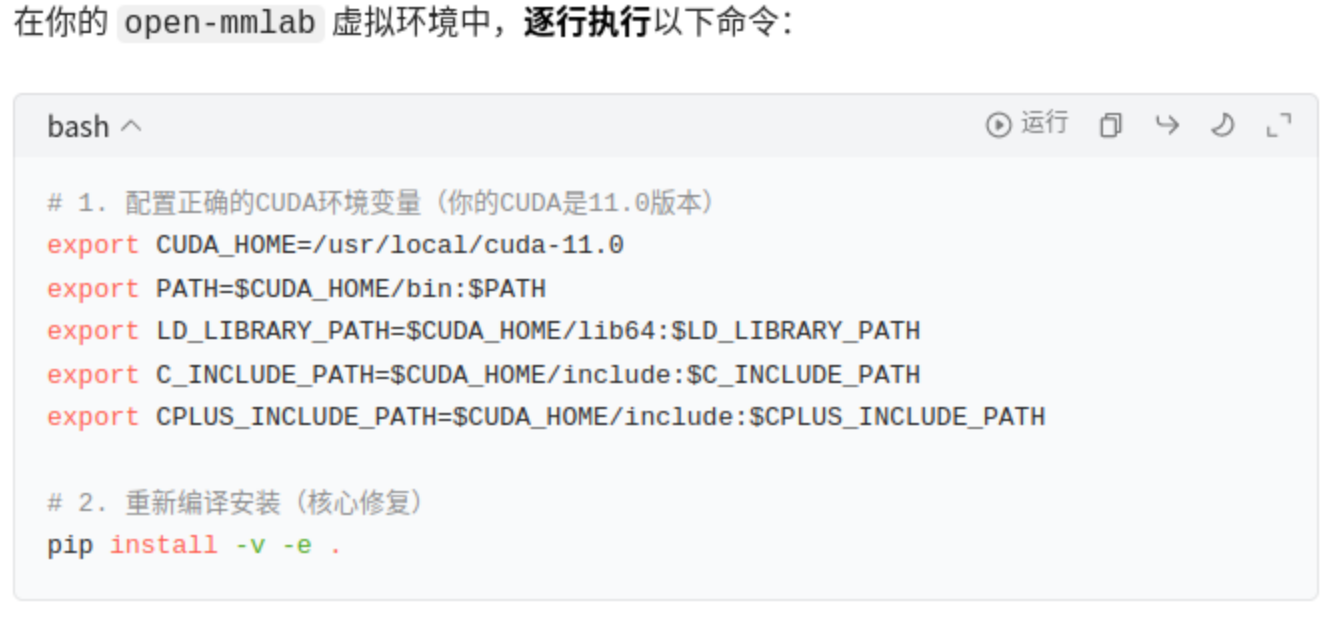
# 这个环境安装最重要,上边的安装报错,请通过该方法进行安装;
pip install -e .
测试
Step 1:下载nuScenes Mini数据集
# Mini数据集只有约4GB,适合快速验证
# 去 https://www.nuscenes.org/ 注册账号后下载
# 需要下载:v1.0-mini + can_bus

mkdir -p ~/data/nuscenes

# 解压 zip
unzip can_bus.zip

# 解压 tgz(tar+gzip)
tar -zxvf v1.0-mini.tgz

# 解压后目录结构:
# ~/data/nuscenes/
# ├── maps/
# ├── samples/
# ├── sweeps/
# ├── v1.0-mini/
# └── can_bus/
数据: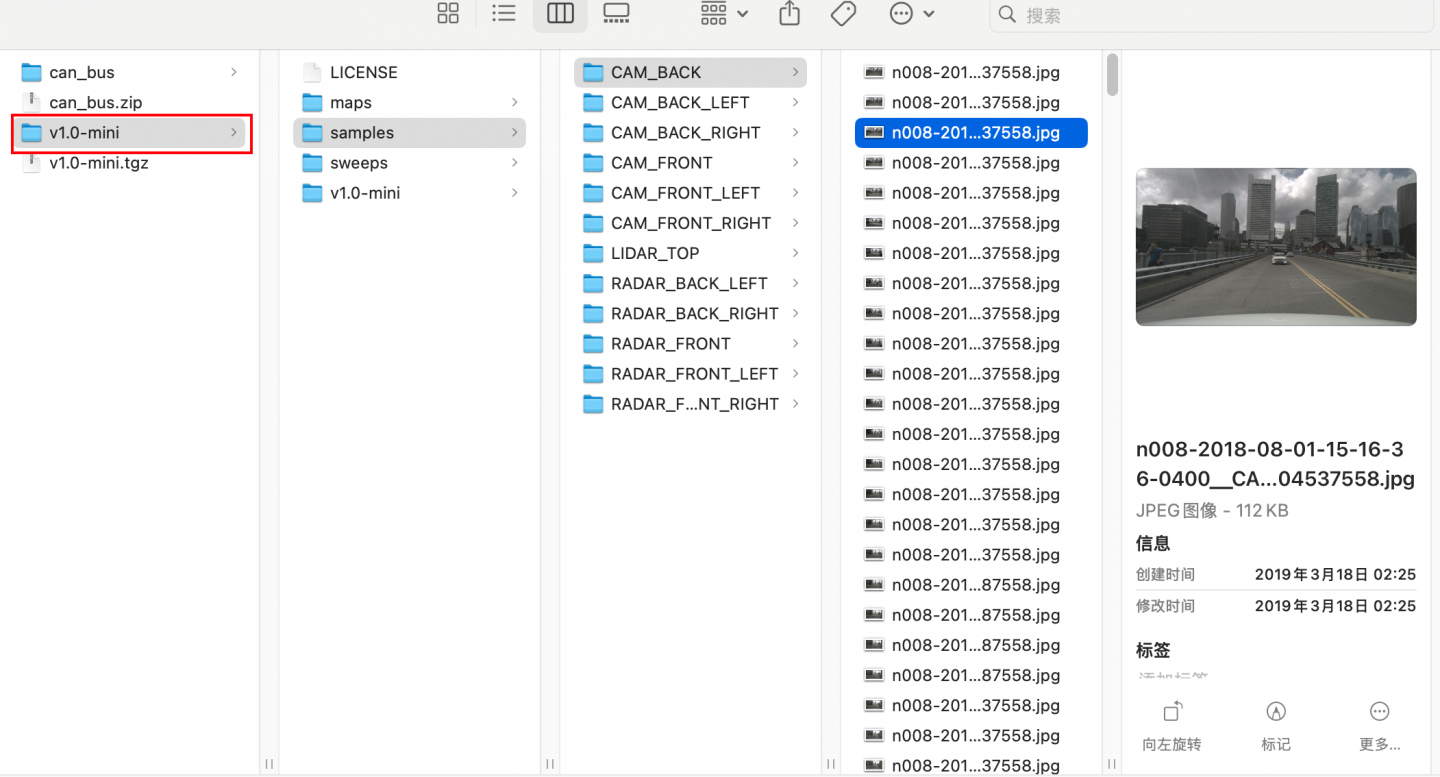
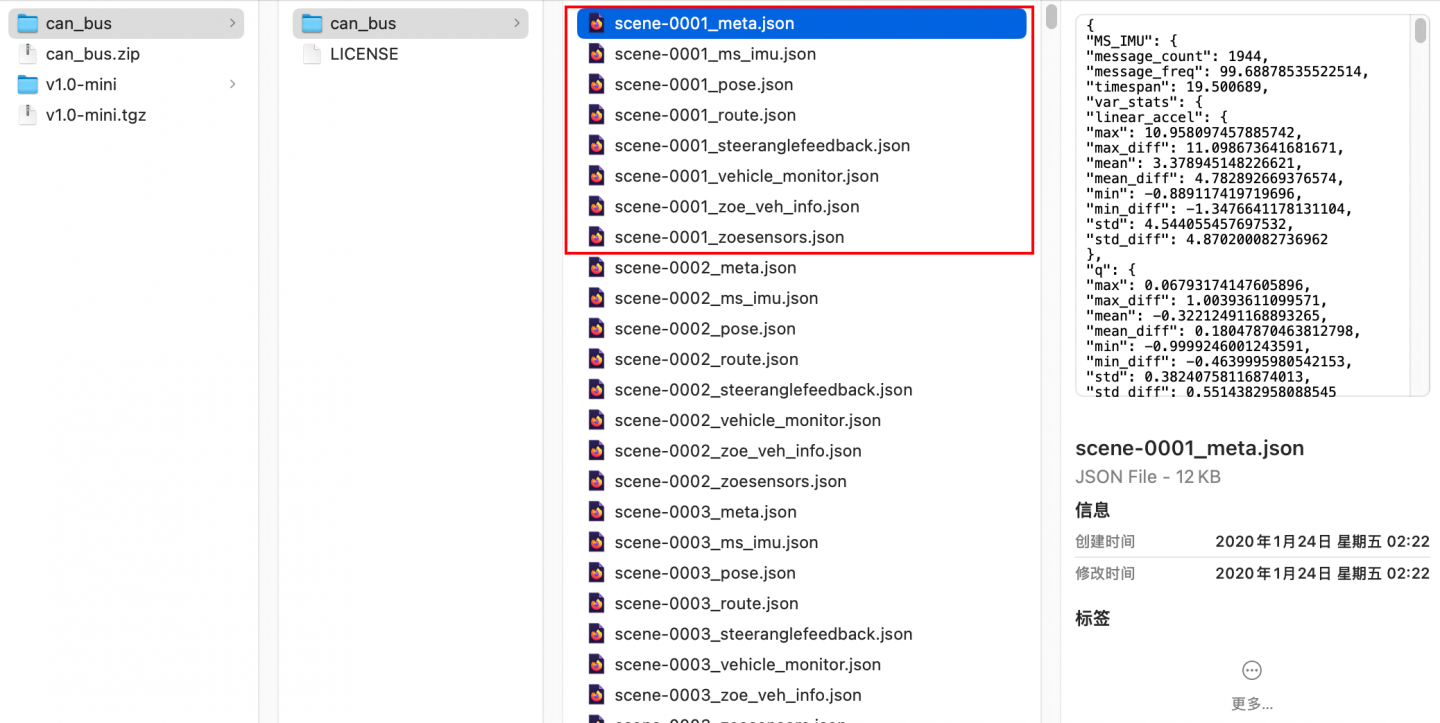
环境:
cd ~/mmdetection3d/BEVFormer
(open-mmlab) root@ubunntu1804: ~/mmdetection3d/BEVFormer#
mkdirt data
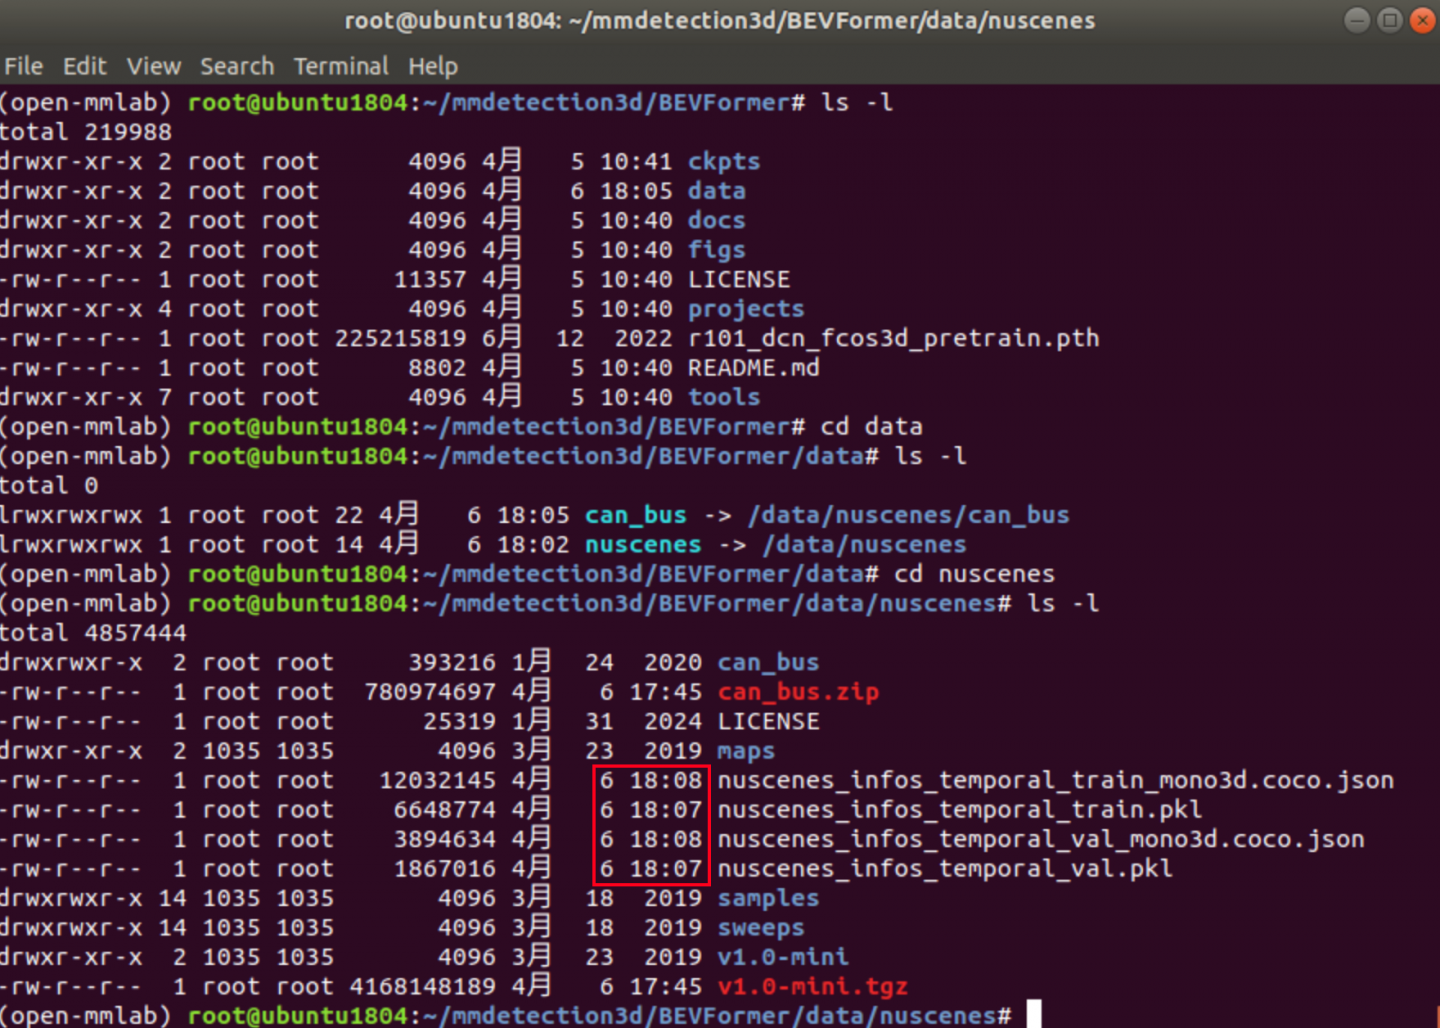
# 创建软链接
ln -s ~/data/nuscenes data/nuscenes
ln -s ~/data/nuscenes/can_bus data/can_bus
# 生成标注文件
python tools/create_data.py nuscenes \
--root-path ./data/nuscenes \
--out-dir ./data/nuscenes \
--extra-tag nuscenes \
--version v1.0-mini \
--canbus ./data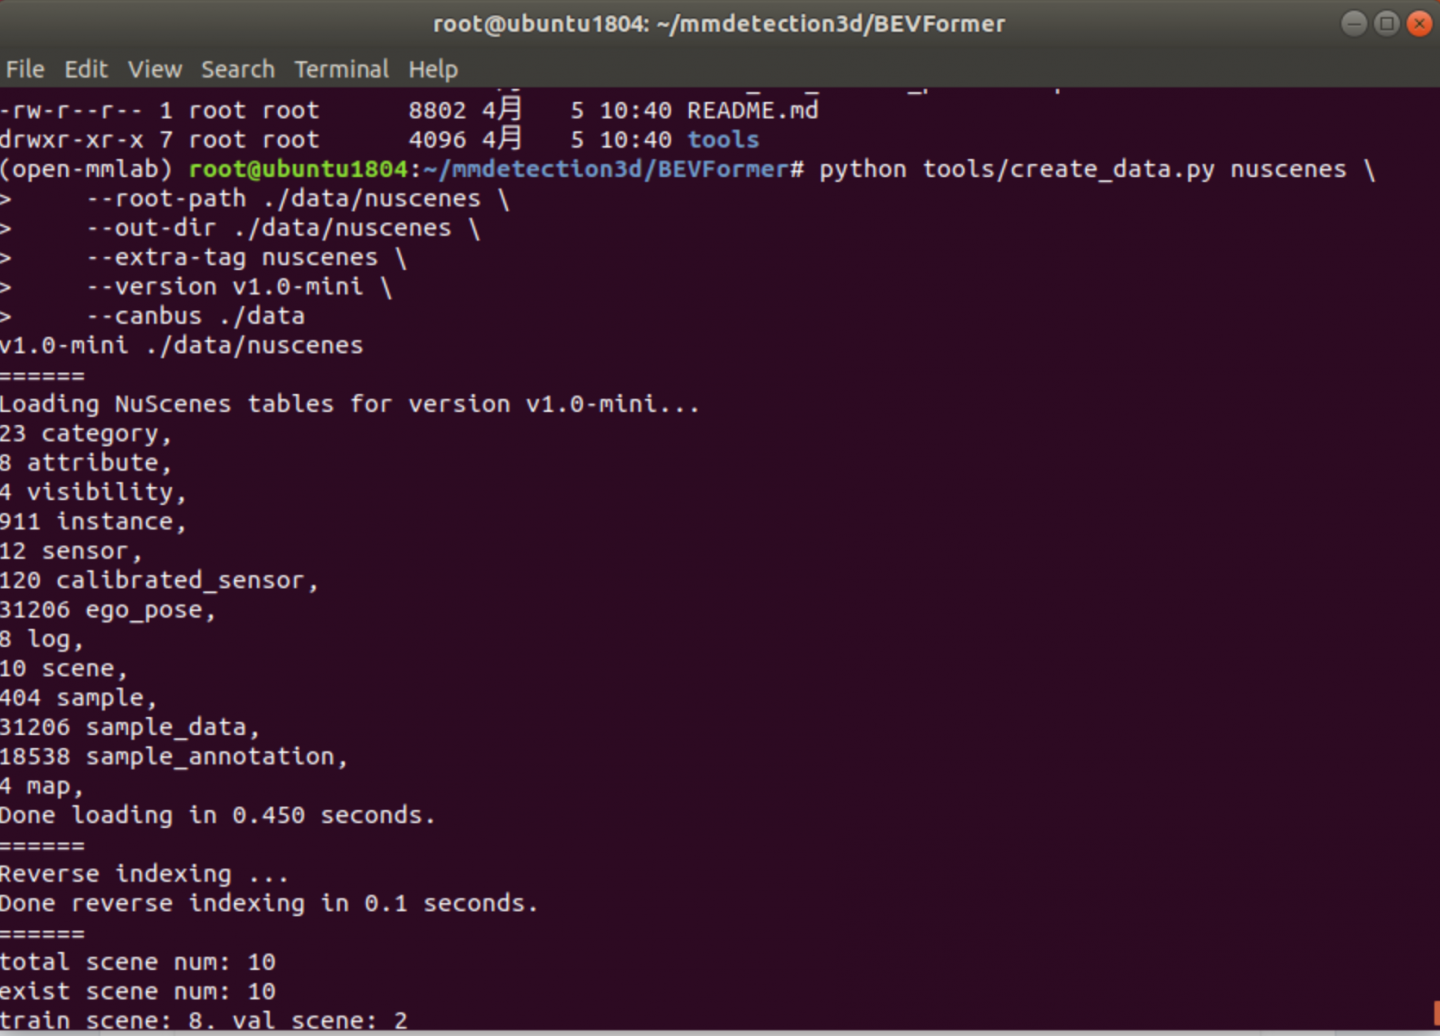
Step 5:运行推理测试
# 用预训练权重跑推理
python tools/test.py \
    projects/configs/bevformer/bevformer_base.py \
    ckpts/bevformer_r101_dcn_24ep.pth \
    --eval bbox

    # 用这个进行推理测试,使用 单卡
    ./tools/dist_test.sh projects/configs/bevformer/bevformer_base.py ckpts/bevformer_r101_dcn_24ep.pth 1 --eval bbox
下边执行报错,报错信息如下:
下边执行报错,报错信息如下:
(open-mmlab) root@ubuntu1804:~/mmdetection3d/BEVFormer# python tools/test.py \
>     projects/configs/bevformer/bevformer_base.py \
>     ckpts/bevformer_r101_dcn_24ep.pth \
>     --eval bbox
projects.mmdet3d_plugin
WARNING!!!!, Only can be used for obtain inference speed!!!!
/root/mmdetection3d/BEVFormer/projects/mmdet3d_plugin/bevformer/modules/custom_base_transformer_layer.py:94: UserWarning: The arguments `feedforward_channels` in BaseTransformerLayer has been deprecated, now you should set `feedforward_channels` and other FFN related arguments to a dict named `ffn_cfgs`.
  warnings.warn(
/root/mmdetection3d/BEVFormer/projects/mmdet3d_plugin/bevformer/modules/custom_base_transformer_layer.py:94: UserWarning: The arguments `ffn_dropout` in BaseTransformerLayer has been deprecated, now you should set `ffn_drop` and other FFN related arguments to a dict named `ffn_cfgs`.
  warnings.warn(
/root/mmdetection3d/BEVFormer/projects/mmdet3d_plugin/bevformer/modules/custom_base_transformer_layer.py:94: UserWarning: The arguments `ffn_num_fcs` in BaseTransformerLayer has been deprecated, now you should set `num_fcs` and other FFN related arguments to a dict named `ffn_cfgs`.
  warnings.warn(
/home/vipuser/miniconda3/envs/open-mmlab/lib/python3.8/site-packages/mmcv/cnn/bricks/transformer.py:341: UserWarning: The arguments `feedforward_channels` in BaseTransformerLayer has been deprecated, now you should set `feedforward_channels` and other FFN related arguments to a dict named `ffn_cfgs`.
  warnings.warn(
/home/vipuser/miniconda3/envs/open-mmlab/lib/python3.8/site-packages/mmcv/cnn/bricks/transformer.py:341: UserWarning: The arguments `ffn_dropout` in BaseTransformerLayer has been deprecated, now you should set `ffn_drop` and other FFN related arguments to a dict named `ffn_cfgs`.
  warnings.warn(
/home/vipuser/miniconda3/envs/open-mmlab/lib/python3.8/site-packages/mmcv/cnn/bricks/transformer.py:341: UserWarning: The arguments `ffn_num_fcs` in BaseTransformerLayer has been deprecated, now you should set `num_fcs` and other FFN related arguments to a dict named `ffn_cfgs`.
  warnings.warn(
/home/vipuser/miniconda3/envs/open-mmlab/lib/python3.8/site-packages/mmcv/cnn/bricks/transformer.py:92: UserWarning: The arguments `dropout` in MultiheadAttention has been deprecated, now you can separately set `attn_drop`(float), proj_drop(float), and `dropout_layer`(dict)
  warnings.warn('The arguments `dropout` in MultiheadAttention '
load checkpoint from local path: ckpts/bevformer_r101_dcn_24ep.pth
2026-04-06 19:26:08,936 - root - INFO - ModulatedDeformConvPack img_backbone.layer3.0.conv2 is upgraded to version 2.
2026-04-06 19:26:08,938 - root - INFO - ModulatedDeformConvPack img_backbone.layer3.1.conv2 is upgraded to version 2.
2026-04-06 19:26:08,939 - root - INFO - ModulatedDeformConvPack img_backbone.layer3.2.conv2 is upgraded to version 2.
2026-04-06 19:26:08,941 - root - INFO - ModulatedDeformConvPack img_backbone.layer3.3.conv2 is upgraded to version 2.
...
2026-04-06 19:26:08,969 - root - INFO - ModulatedDeformConvPack img_backbone.layer4.0.conv2 is upgraded to version 2.
2026-04-06 19:26:08,973 - root - INFO - ModulatedDeformConvPack img_backbone.layer4.1.conv2 is upgraded to version 2.
2026-04-06 19:26:08,975 - root - INFO - ModulatedDeformConvPack img_backbone.layer4.2.conv2 is upgraded to version 2.
Traceback (most recent call last):
  File "tools/test.py", line 266, in <module>
    main()
  File "tools/test.py", line 229, in main
    assert False
AssertionError
(open-mmlab) root@ubuntu1804:~/mmdetection3d/BEVFormer#
果然,报错的原因非常直观。在你提供的 tools/test.py 源码中,我发现了人为设置的断言(Assert)。
-
报错位置定位
代码第 228-232 行如下:if not distributed: assert False # <--- 就是这里崩溃了! # model = MMDataParallel(model, device_ids=[0]) # outputs = single_gpu_test(model, data_loader, args.show, args.show_dir) -
为什么会报错?
这通常是因为 BEVFormer 的作者(或修改代码的人)强制要求必须使用分布式(Multi-GPU)模式来运行测试。
当你的启动命令是 python tools/test.py ... 时,args.launcher 默认为 none。
程序进入 if not distributed: 分支,直接触发了 assert False。
作者把单机单卡的运行逻辑注释掉了(第 230-231 行),这意味着该脚本目前不支持直接用 python 命令启动。
- 解决方案
方案一:使用分布式启动命令(推荐)
即使你只有 1 张显卡,也可以通过 dist_test.sh 来模拟分布式环境绕过这个断言:# 格式:./tools/dist_test.sh [Config文件] [Checkpoint文件] [显卡数量] --eval bbox ./tools/dist_test.sh \ projects/configs/bevformer/bevformer_base.py \ ckpts/bevformer_r101_dcn_24ep.pth \ 1 \ --eval bbox
方案二:修改源码(如果你只想用单卡简单调试)
如果你坚持要用 python tools/test.py 启动,你需要手动恢复被注释掉的代码并删除断言:
打开 tools/test.py。
找到第 229 行左右。
修改为如下样子:
if not distributed:
        # assert False  <-- 注释掉或删掉这一行
        model = MMDataParallel(model, device_ids=[0])
        outputs = single_gpu_test(model, data_loader, args.show, args.show_dir)
注意: 还有一个潜在的断言在第 240 行 assert False(在 if args.out: 下面),如果你使用了 --out 参数,记得也把它删掉。
总结
这通常是由于 BEVFormer 这种大规模模型对显存要求极高,作者为了防止用户误用慢速的单卡模式,或者是因为单卡模式下某些自定义算子(如 custom_multi_gpu_test)逻辑不一致,直接封死了单卡入口。
建议直接使用 dist_test.sh 脚本并指定 GPU 数量为 1。
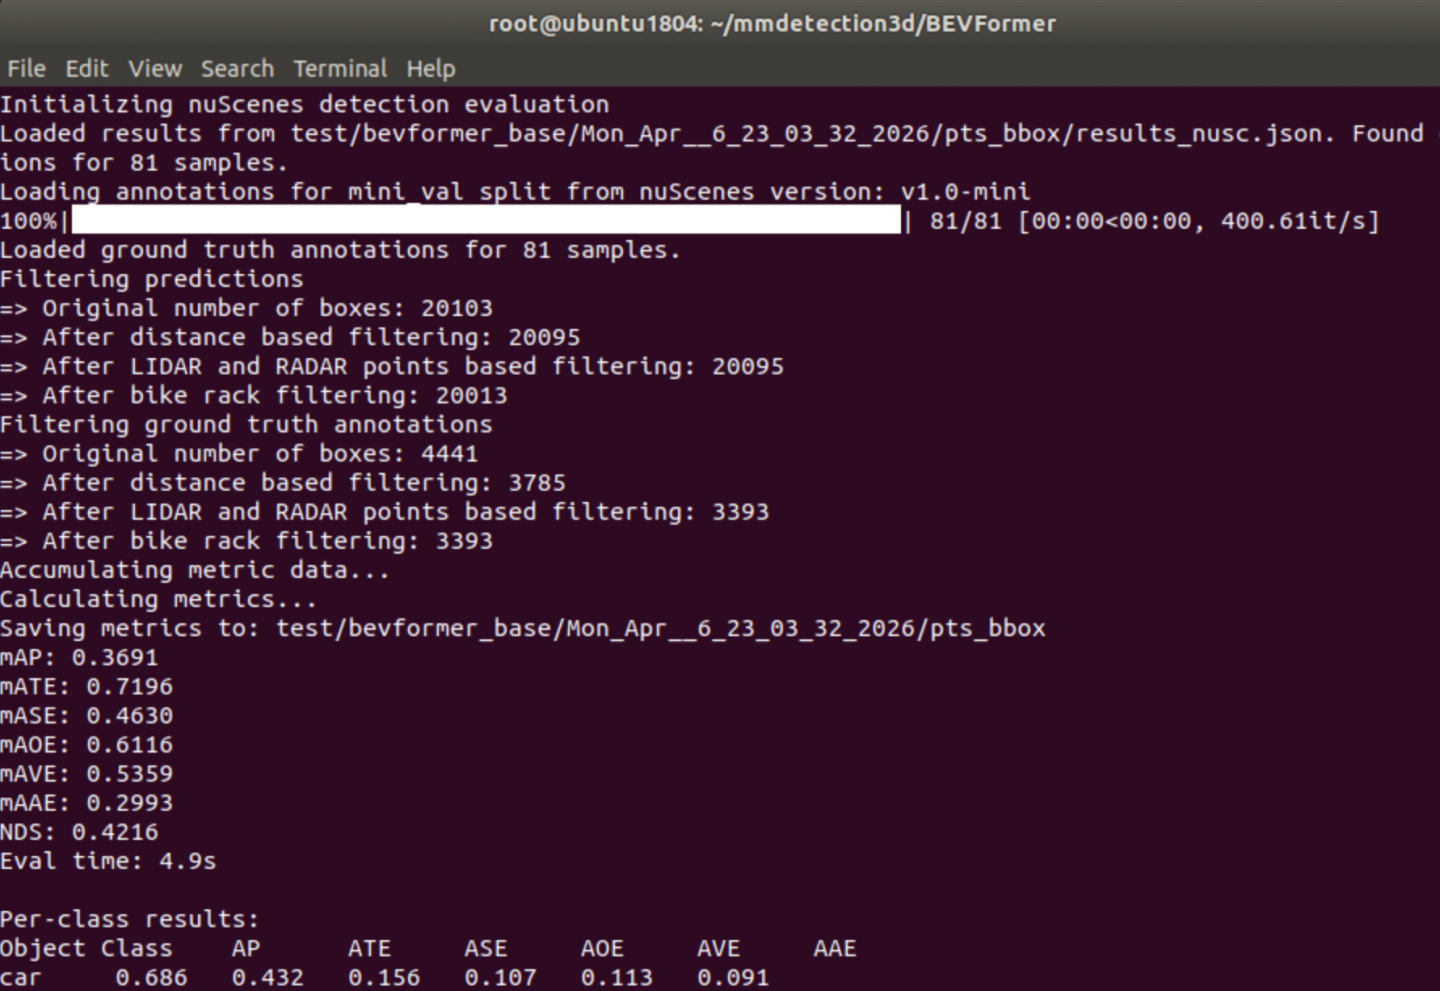
    # 用这个进行推理测试,使用 单卡
    ./tools/dist_test.sh projects/configs/bevformer/bevformer_base.py ckpts/bevformer_r101_dcn_24ep.pth 1 --eval bbox
学习视频:
全网讲解最通俗的【BEVformer】原理+源码解读,基于Transformer的自动驾驶技术只需三小时即可轻松吃透!
fundamentalvision/BEVFormer
为者常成,行者常至
自由转载-非商用-非衍生-保持署名(创意共享3.0许可证)


