
从零到端到端自动驾驶实战-Pjoject2-第 1 章-环境搭建-CARLA-ROS2 集成
一、开发环境
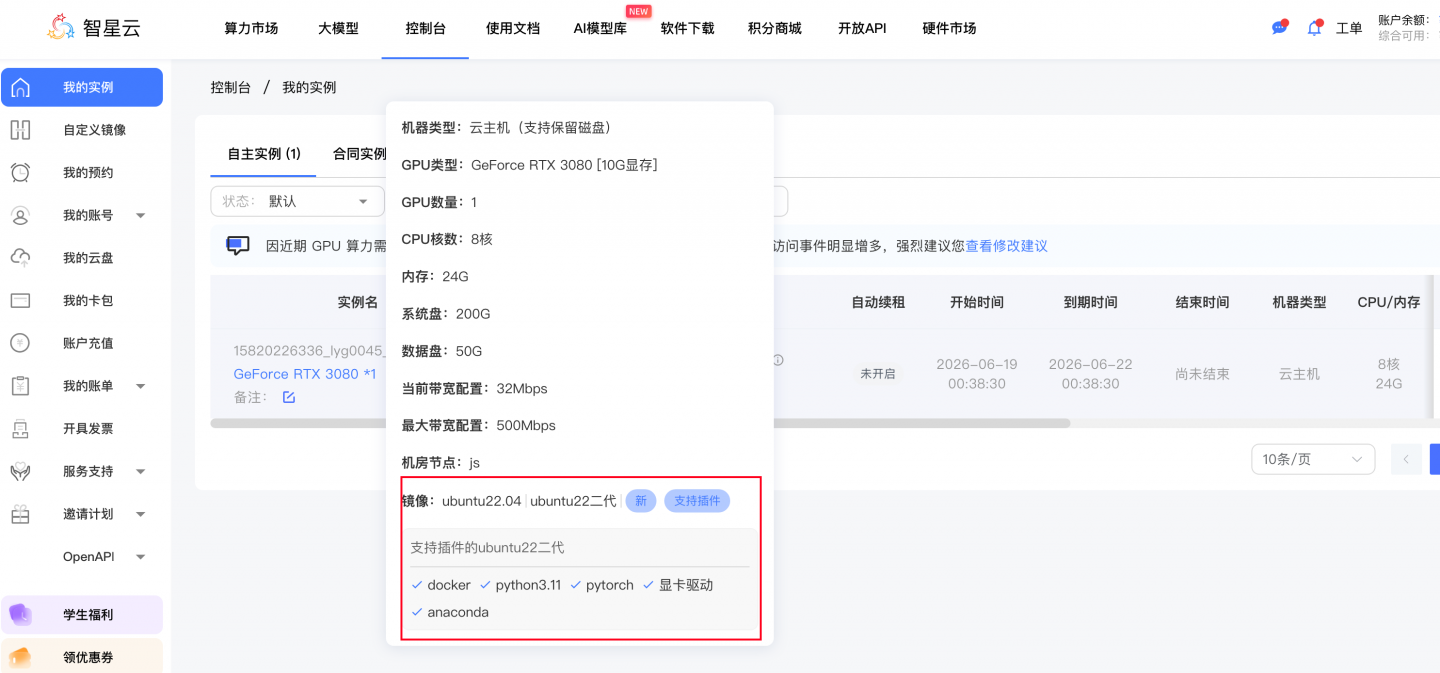
这里我们用 智星云 的运算力服务,购买 3080显卡,0.7元/小时;
https://gpu.ai-galaxy.cn/console/dashboard
检查NVIDIA 驱动
检查驱动,查看 nvidia-smi 配置, 智星云默认已经装好了驱动。
(base) root@ubuntu22:~# nvidia-smi
Fri Jun 19 10:53:50 2026
+-----------------------------------------------------------------------------------------+
| NVIDIA-SMI 550.78                 Driver Version: 550.78         CUDA Version: 12.4     |
|-----------------------------------------+------------------------+----------------------+
| GPU  Name                 Persistence-M | Bus-Id          Disp.A | Volatile Uncorr. ECC |
| Fan  Temp   Perf          Pwr:Usage/Cap |           Memory-Usage | GPU-Util  Compute M. |
|                                         |                        |               MIG M. |
|=========================================+========================+======================|
|   0  NVIDIA GeForce RTX 3080        Off |   00000000:00:08.0 Off |                  N/A |
| 30%   24C    P8             14W /  320W |      10MiB /  10240MiB |      0%      Default |
|                                         |                        |                  N/A |
+-----------------------------------------+------------------------+----------------------+

+-----------------------------------------------------------------------------------------+
| Processes:                                                                              |
|  GPU   GI   CI        PID   Type   Process name                              GPU Memory |
|        ID   ID                                                               Usage      |
|=========================================================================================|
|    0   N/A  N/A       711      G   /usr/lib/xorg/Xorg                              4MiB |
+-----------------------------------------------------------------------------------------+
(base) root@ubuntu22:~#
查看CUDA:
# 验证 CUDA
# apt-get update
# apt install nvidia-cuda-toolkit
# 如果没有nvcc命令,则执行上边的命令:
nvcc --version

# 打印
(base) root@ubuntu22:~# nvcc --version
nvcc: NVIDIA (R) Cuda compiler driver
Copyright (c) 2005-2021 NVIDIA Corporation
Built on Thu_Nov_18_09:45:30_PST_2021
Cuda compilation tools, release 11.5, V11.5.119
Build cuda_11.5.r11.5/compiler.30672275_0
(base) root@ubuntu22:~#
二、安装ROS2 Humble
ROS2 Humble 是我们今年(2026)的主力版本,官方支持到 2027 年 5 月。
2.1 添加 ROS2 软件源
# 确保 locale 是 UTF-8
locale  # 检查
sudo apt update && sudo apt install locales
sudo locale-gen en_US en_US.UTF-8
sudo update-locale LC_ALL=en_US.UTF-8 LANG=en_US.UTF-8
export LANG=en_US.UTF-8

# 添加 universe 源
sudo apt install software-properties-common
sudo add-apt-repository universe

# 添加 ROS2 GPG 密钥
sudo apt update && sudo apt install curl -y
sudo curl -sSL https://raw.githubusercontent.com/ros/\
rosdistro/master/ros.key -o /usr/share/keyrings/ros-archive-keyring.gpg

# 添加 ROS2 源到 apt list
echo "deb [arch=$(dpkg --print-architecture) signed-by=/usr/share/keyrings/ros-archive-keyring.gpg] http://packages.ros.org/ros2/ubuntu $(. /etc/os-release && echo $UBUNTU_CODENAME) main" | sudo tee /etc/apt/sources.list.d/ros2.list > /dev/null

# 国内的ROS2源,速度更快
echo "deb [arch=$(dpkg --print-architecture) signed-by=/usr/share/keyrings/ros-archive-keyring.gpg] https://mirrors.tuna.tsinghua.edu.cn/ros2/ubuntu $(. /etc/os-release && echo $UBUNTU_CODENAME) main" | sudo tee /etc/apt/sources.list.d/ros2.list > /dev/null

# cat /etc/apt/sources.list.d/ros2.list
# deb [arch=amd64 signed-by=/usr/share/keyrings/ros-archive-keyring.gpg] http://packages.ros.org/ros2/ubuntu jammy main
2.2 安装 ROS2 Humble 完整版
sudo apt update
sudo apt upgrade -y

# desktop-full 包含 RViz2, demos, 教学的例子等
sudo apt install ros-humble-desktop-full -y

# 安装 colcon (ROS2 编译工具)
sudo apt install python3-colcon-common-extensions -y

# 安装 rosdep (依赖管理)
sudo apt install python3-rosdep -y
sudo rosdep init
rosdep update

# 配置环境变量
echo 'source /opt/ros/humble/setup.bash' >> ~/.bashrc
source ~/.bashrc
验证 ROS2 安装
# 终端 1: 启动 talker
ros2 run demo_nodes_cpp talker
# 应看到: [INFO] [talker]: Publishing: 'Hello World: 1'

# 终端 2: 启动 listener
ros2 run demo_nodes_py listener
# 应看到: [INFO] [listener]: I heard: [Hello World: 1]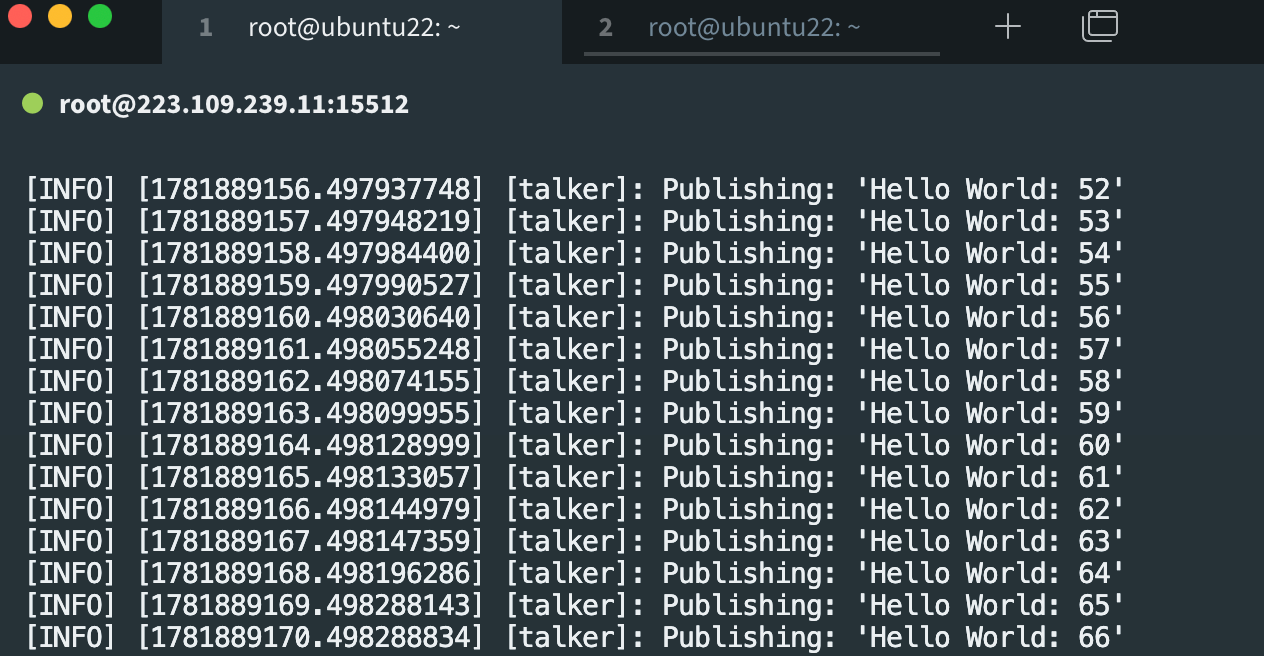
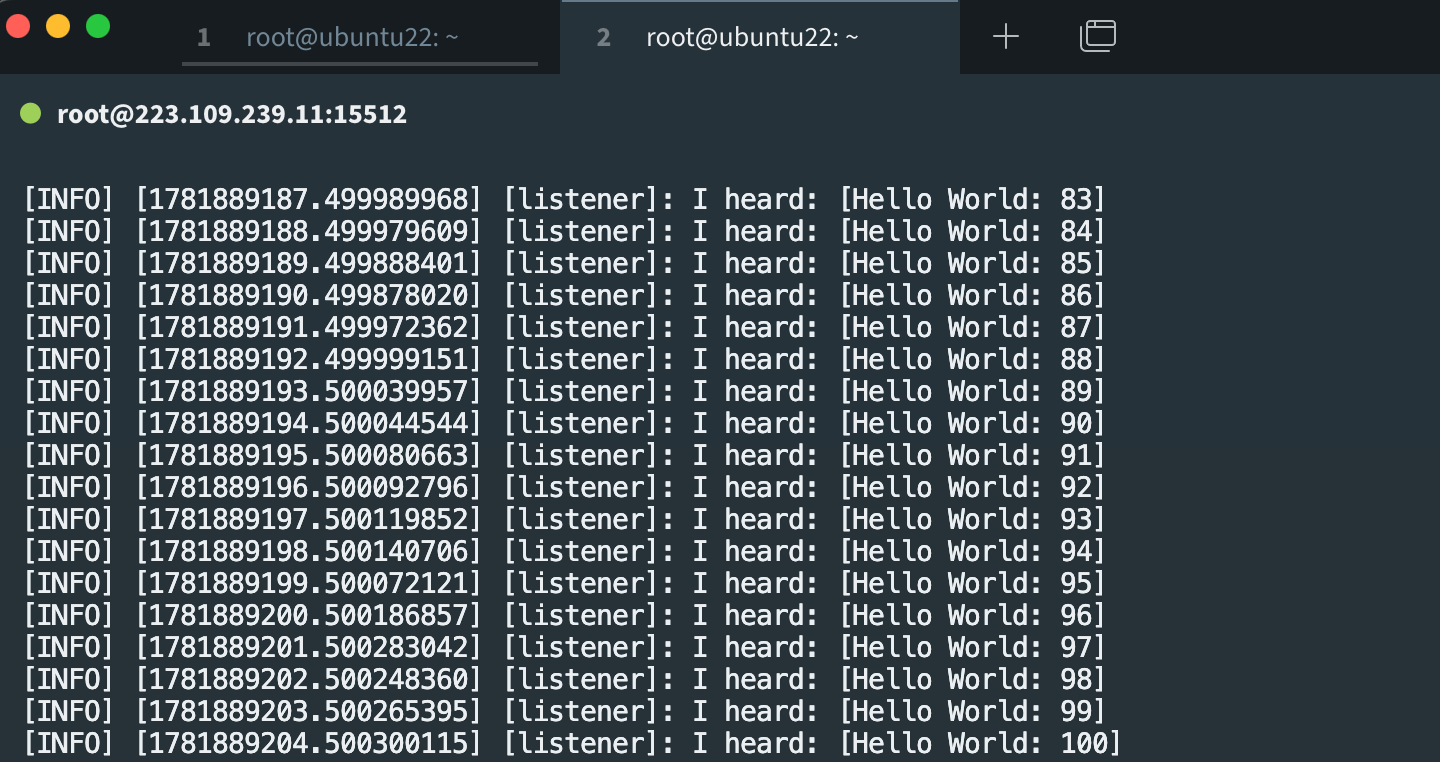
运行完上面的 talker/listener 后, 你应该看到两个终端同步打印消息。这意味着 ROS2 的发布订阅机制正常工作, 后续所有模块都依赖这个机制。
三、安装Python环境+PyTorch
我们用 Miniconda 管理 Python 环境。这是车企项目的标准做法——不同项目需要不同的 Python/PyTorch 版本,环境隔离能避免版本冲突。
先查看NVIDIA配置驱动:
(ad_sim) root@ubuntu22:~# nvidia-smi
Sat Jun 20 01:20:09 2026
+-----------------------------------------------------------------------------------------+
| NVIDIA-SMI 550.78                 Driver Version: 550.78         CUDA Version: 12.4     |
|-----------------------------------------+------------------------+----------------------+
| GPU  Name                 Persistence-M | Bus-Id          Disp.A | Volatile Uncorr. ECC |
| Fan  Temp   Perf          Pwr:Usage/Cap |           Memory-Usage | GPU-Util  Compute M. |
|                                         |                        |               MIG M. |
|=========================================+========================+======================|
|   0  NVIDIA GeForce RTX 3080        Off |   00000000:00:08.0 Off |                  N/A |
| 30%   25C    P8             23W /  320W |      10MiB /  10240MiB |      0%      Default |
|                                         |                        |                  N/A |
+-----------------------------------------+------------------------+----------------------+

+-----------------------------------------------------------------------------------------+
| Processes:                                                                              |
|  GPU   GI   CI        PID   Type   Process name                              GPU Memory |
|        ID   ID                                                               Usage      |
|=========================================================================================|
|    0   N/A  N/A       711      G   /usr/lib/xorg/Xorg                              4MiB |
+-----------------------------------------------------------------------------------------+
(ad_sim) root@ubuntu22:~#
安装环境:
# 下载并安装 Miniconda
wget https://repo.anaconda.com/miniconda/\
Miniconda3-latest-Linux-x86_64.sh
bash Miniconda3-latest-Linux-x86_64.sh
source ~/.bashrc

# 创建本项目主环境
conda create -n ad_sim python=3.10 -y
conda activate ad_sim

# 安装 PyTorch 2.1 + CUDA 12.1
pip install torch==2.1.0 torchvision==0.16.0 \
  --index-url https://download.pytorch.org/whl/cu121

# 验证
python -c "import torch; print(f'PyTorch: {torch.__version__}'); \
  print(f'CUDA: {torch.cuda.is_available()}'); \
  print(f'GPU: {torch.cuda.get_device_name(0)}')"
# 应显示:
PyTorch: 2.1.0+cu121
CUDA: True
GPU: NVIDIA GeForce RTX 3080

# 安装其他常用库
pip install numpy opencv-python matplotlib pandas tqdm \
  scipy scikit-learn transformers
四、安装 CARLA 0.9.15
下载 CARLA
# 创建 CARLA 安装目录
mkdir -p ~/carla && cd ~/carla

# 下载 CARLA 0.9.15 (约 7GB, 需 10-30 分钟)
wget https://tiny.carla.org/carla-0-9-15-linux-tar \
  -O CARLA_0.9.15.tar.gz

# 下载补充地图包(包含 Town06, Town07, Town10, Town11, Town12, Town13, Town15)
wget https://tiny.carla.org/additional-maps-0-9-15-linux \
  -O AdditionalMaps_0.9.15.tar.gz

# 解压主包
tar -xzvf CARLA_0.9.15.tar.gz

# 解压地图包到 Import 目录
mv AdditionalMaps_0.9.15.tar.gz Import/
./ImportAssets.sh
# 这会自动导入所有额外地图

# 验证目录结构
ls ~/carla
# 应看到: CarlaUE4.sh  Engine  ImportAssets.sh  PythonAPI  CarlaUE4 ...
为者常成,行者常至
自由转载-非商用-非衍生-保持署名(创意共享3.0许可证)


